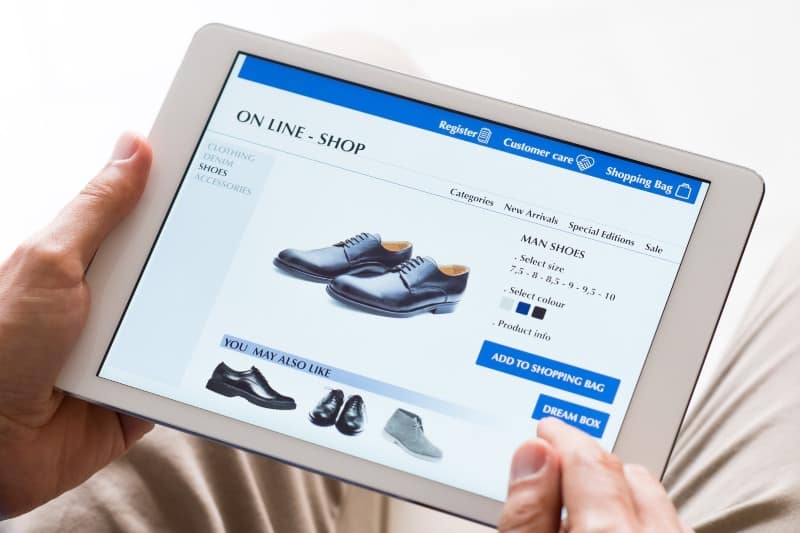
Creating an online store is a project that goes beyond building a web page. In addition to making it work properly, you also need to provide a design that defines and projects your brand identity, while also being functional and attractive to visitors, customers, and potential buyers. At Doowebs we are professionals in Design of online stores
In this context, PrestaShop is one of the best platforms to create your e-commerce. Through this CMS you can easily get your page, using a multitude of tools and themes to customize your online business.
How to do it? How to create a web page with Prestashop and customize it? You just have to follow the following steps to get a PrestaShop web design tailored to your company.
Step 1. Hire the hosting service
Choose your domain name and hire a company that provides hosting service, that is, the space in which you will host your online store.
Step 2. Download PrestaShop
PrestaShop is a free platform. So, the next step is to download their software from the official website. This process will generate a Zip file on your computer that you must unzip
Step 3. Create a database
According to the conditions indicated by your hosting provider, create a database for the most important information, files and images that should be available in your e-commerce.
Step 4. Install PrestaShop
Upload to the hosting the unzipped files that you have previously downloaded. Use an FTP program to upload these files.
In this step, contact your hosting provider to provide you with the necessary information. Make sure the process is done correctly.
When the upload is complete, you must enter the domain of your store and start the installation. There the wizard window will appear:
- Select the language and accept the terms and conditions.
- Enter the required information of the store: store name, main activity, country, first name, last name, email address and store password.
- Complete the necessary information to configure the database: server address, database name, access system, password, etc.
- Check the database connection and click next to start the installation.
Done! Now customize your store, adapt the PrestaShop web design
Step 5. Select the most suitable theme for your store
In the store you just created, the PrestaShop web design is from a template that the CMS uses by default. Although it is nice, contains very functional elements and is easy to use, you need to change it and customize the interface according to corporate identity of your business.
Based on this, it is necessary that you select the most suitable PrestaShop theme for your online store. A theme that aligns with the business purpose and the client’s needs, that has a professional appearance and that has multiple tools for adaptation.
Customize the colours, the typography, how you display the products, their quick views, etc. Make sure that the theme you choose also has the ability to adapt to mobile devices.
Step 6. Set up your product catalogue
From the control panel, in the administrator account, manage the catalogue section for a complete customization of the PrestaShop web design. From there, you can add all the content related to the products you want to offer. Among the information to be loaded are prices, technical descriptions, codes, etc.
Provides a unique identification to each product, to prevent the information of those loaded from being modified.
You also have the option of carrying out the bulk load of the catalogue, through .csv files.
Step 7. Set up payment methods
For a comfortable PrestaShop web design, configure the payment methods that are convenient for your business model and for the ease of customers. Normally, you need to install some plugin to create a smooth checkout environment.
Paypal is one of the most popular and easy to configure options in the PrestaShop store. You can also add other e-wallets, debit cards, cards credit, etc. Even if your store is in the international market, you have the possibility of configuring different types of currencies.
For payment gateways to be a secure resource, you need to install an SSL certificate. It is the way to provide security to the entire PrestaShop website.
Step 8. Configure the shipping and delivery methods of the orders
Select the shipping methods and delivery of the order. Always according to the location of the warehouse or physical store and the geographical area of your potential customers.
Step 9. Set the store parameters
In this last step, determine and configure the other parameters of your e-commerce, such as the parameters of purchase options, security options, maintenance conditions, performance, etc.
It also configures the search tools, for the best user experience, using the appropriate and precise words and tags.
Basically, these are the steps for the PrestaShop web design of your store. But you will always have the opportunity to include more elements, or modify them, to offer better customer service, have a more attractive page, easier to use, with more interaction resources, etc.
You can install modules that increase the functionalities of your web page. Add more sections or pages to the store, include support for various languages, add tools for SEO analysis, etc.
Knowing how to create a web page with Prestashop is necessary. But you will always have the option of leaving your online store in the hands of expert web developers. They can adjust the design of your e-commerce to the personality of your brand.
Do you need direct advice for the PrestaShop web design and development of your business? Contact us. At Doowebs we specialize in Valencia web design, using various CMS platforms or custom web programming. In addition, we have the web hosting service.
